It's another fun and easy scrap busting craft project! This tutorial takes you through how to create a pair of dangly scrap fabric flower hoop earrings. It uses items you probably have on hand with some inexpensive basic crafting supplies that can be found on our amazon store at or your local craft supply store. These are the perfect gift for Mom's and Grandma's for Mother's Day, a personal end of year teacher gift or a fun craft to make with friends.
Gathering Your Supplies:
For this project you will need the following:
- Iron and a protective iron cloth (any basic cotton fabric will work)
- Fabric scissors
- Fabric scaps (approx 2"x4" strips work great, you can also use discarded quilt piece squares, triangles etc.)
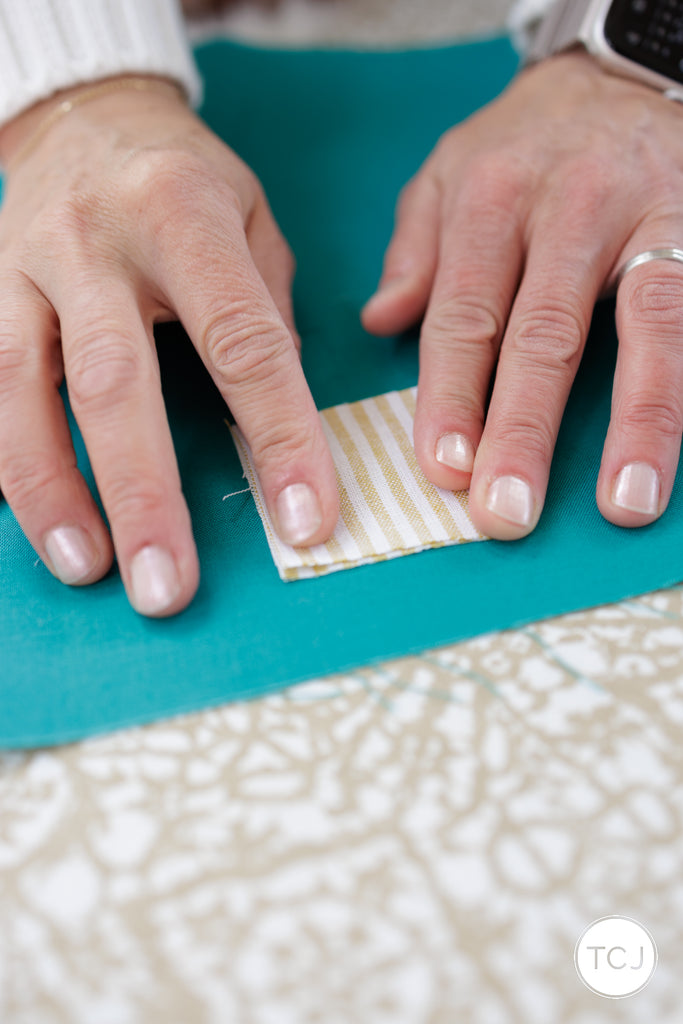
From your fabric scraps choose 3 fabrics for your earring. You'll need two fabrics for the small outside flowers and one for the larger inside flower. Once you've chosen your fabrics, cut them into 2"x 4" strips to make them easier to work with. You'll need (2) 2"x4" strips of all 3 fabric patterns to make one pair of earrings. The strips don't have to be perfect. Irregular sizes will work too. These strips will create (6) 2" squares.
Next cut your Heat N Bond into 2" squares or whatever size fits your fabric scrap.
Heat N Bond is an iron on adhesive. It will be sandwiched in the middle of your fabric so that your fabric has two right sides. It's also used to keep your fabric more stable when cutting and to keep from fraying.
The next step is to adhere the Heat N Bond to your fabric strips.
Tip: make sure to use a protective cloth when ironing on the Heat N Bond to your fabric. This will protect both your iron and your ironing board from getting adhesive goo on it. With your protective cloth under your strip, begin by placing one Heat N Bond square onto the wrong side of your fabric strip. The rough side of the Heat N Bond is placed towards the fabric with the paper side of the Heat N Bond facing up.
Fold over your piece of protective cloth so it's covering the top of the fabric strip. It should be sandwiching the bottom and top of your fabric strip to protect both your ironing board and your iron.
Once everything is set in place and covered. Press your iron and hold down for about 6 seconds to set the adhesive onto the fabric.
Wait until the fabric cools completely and then peel off the paper of the Heat N Bond to expose the other side. Make sure the paper peels cleanly from the backing. If some adhesive is still stuck to the paper go back and iron a little bit longer.
The Heat N Bond adhesive is now a see through square on one side of your fabric. Fold your fabric over it to make a 2" square. The right side of the fabric will now be facing up.
Cover the square up with your protective cloth and iron again to adhere it together.
This will give you one 2" square that has the right side of your fabric on both sides and the Heat N Bond adhesive holding it together in the middle.
Repeat the process with your second fabric strip, and then the remaining 4 fabric strips for your earrings.
Next grab your downloadable flower pattern template. Check the 1" square box to make sure it printed out to scale. Lay out which fabrics you want to use for your back small flower, your center large flower and your front small flower. Note that you will not see much of the back flower when the earrings are worn.
Cutting Out Your Flowers:
Begin by roughly cutting the flower template just around the lines.
Start with the larger flowers to get a feel for cutting with the template.
Hold the template over your fabric using your thumb and your index finger.
First cut a circle around the edges of the template.
Once you've cut the outside edges go back in to trim the petal details.
Repeat using the same template with your other large flower.
Now you should have two large center flowers.
Using the small flower from the template. Cut out 4 more flowers using the same process.
Continue until all 6 flowers are cut out. You should have 2 large center flowers, 2 small back flowers and 2 small front flowers.
The last step in prepping your flowers is to make a hole in the center of all your flowers which will allow you to easily slide the flowers onto the earring hoop.
It's easiest to use a sharp Awl tool for this step. A large needle point needle also works great. I've also used the pointy end of a seem ripper to make the hole.
Assemble your earring:
Begin by laying out your earring pieces in order.
You'll need your 2 earring hoops. 4 gold or silver beads per earring and 3 flowers for each earring. Note that the first flower you place on your earring will be the back flower. Assemble your earrings in this order:
bead
back small flower
bead
middle large flower
bead
front small flower
bead
Repeat the assembly for the 2nd earring and your done!
We made a simple little card out of card stock and washi tape to use for gift giving. Punch a hole in your card stock using your Awl tool.
The TCJ Amazon Store Front - Flower Earring Tutorial Supplies, First Time Quilter Supplies and Favorite Quilting Supplies